The secret to fast urban sketching isn’t a faster hand; it’s a smarter eye trained in ‘visual triage’.
- Prioritize capturing the scene’s light, energy, and story over photorealistic accuracy.
- Use tactical shortcuts for perspective and choose your medium based on the specific need for speed.
Recommendation: Stop trying to render everything. Start making decisive choices about what to include, what to simplify, and what to leave out entirely to tell the story of the moment.
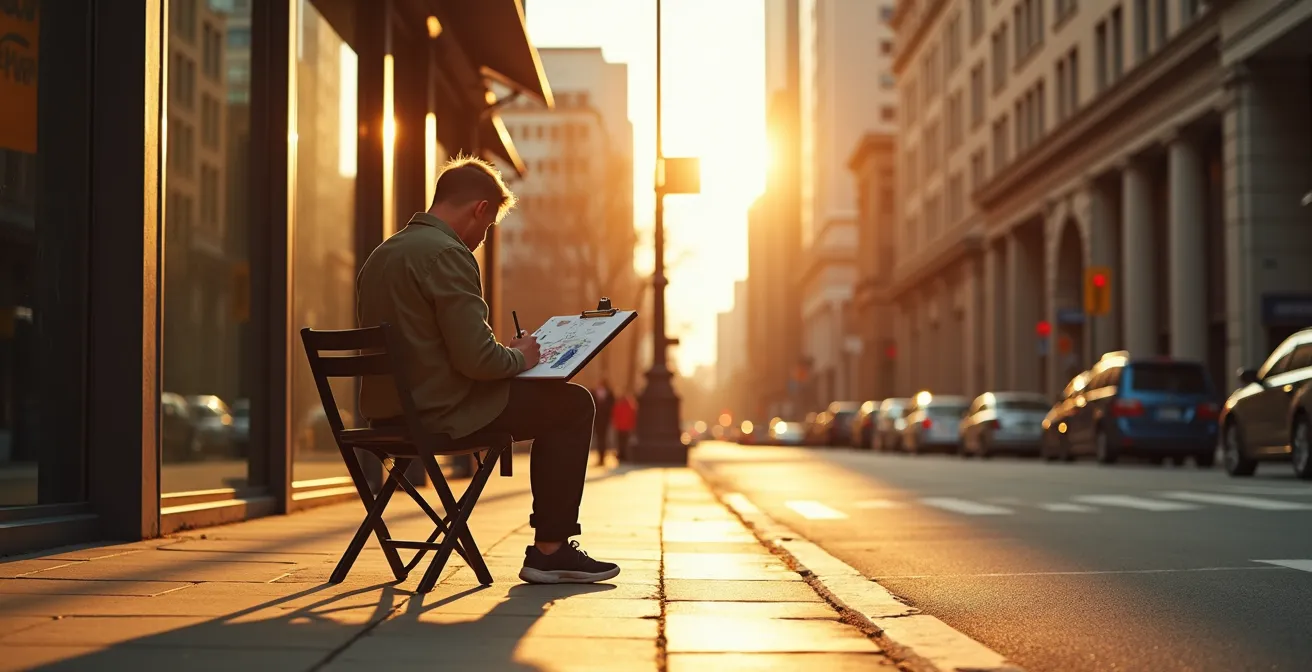
You see it. That perfect slice of light cutting across a building, the momentary chaos of a crowd parting, the unique character of a city street at golden hour. You pull out your sketchbook, heart racing, but by the time you’ve drawn the first few lines, the magic is gone. The light has shifted, the people have dispersed, and the energy has evaporated. This frustration is universal for plein air artists. The common advice is to “simplify” or “draw faster,” but this is unhelpful. It doesn’t teach you *how* to make the right decisions under pressure.
Many sketchers get bogged down in technical details, trying to capture every window and brick, believing accuracy is the ultimate goal. They spend precious minutes debating between pens, markers, and watercolors. This approach is a recipe for half-finished sketches and a feeling of defeat. The fundamental problem isn’t your drawing speed; it’s your decision-making process.
What if the key wasn’t about racing against the clock, but about mastering it? This guide introduces a different philosophy: visual triage. It’s a mental framework for rapidly assessing a scene, identifying its core story, and executing a plan to capture that essence before it vanishes. It’s about seeing like a director, not a camera, and making conscious choices about what matters most. We will explore how to choose the fastest medium for dynamic subjects, use geometric shortcuts for complex architecture, and manage your environment so you can focus purely on the art.
This article provides a structured approach to transform your on-location sketching. By following these principles, you’ll learn to make confident decisions, capture the fleeting moments that define a city, and finish more sketches you’re proud of. Let’s dive into the practical strategies that make this possible.
Summary: A Guide to Sketching Urban Scenes Before the Light Fades
- Pen & Wash vs. Markers: Which medium is faster for capturing moving crowds?
- How to use the “one-point” trick to draw skyscrapers without getting lost in geometry?
- The weather preparation mistake that ruins your paper when sketching outdoors in winter
- Why security guards might stop you and what your rights actually are?
- How to choose the focal point in a chaotic street scene to tell a story?
- The lighting error that disrupts your circadian rhythm in windowless corners
- When to unlock lore fragments: The rule of proximity for environmental storytelling
- How to Arrange a 400 Sq Ft Apartment to Reduce Daily Stress Levels?
Pen & Wash vs. Markers: Which medium is faster for capturing moving crowds?
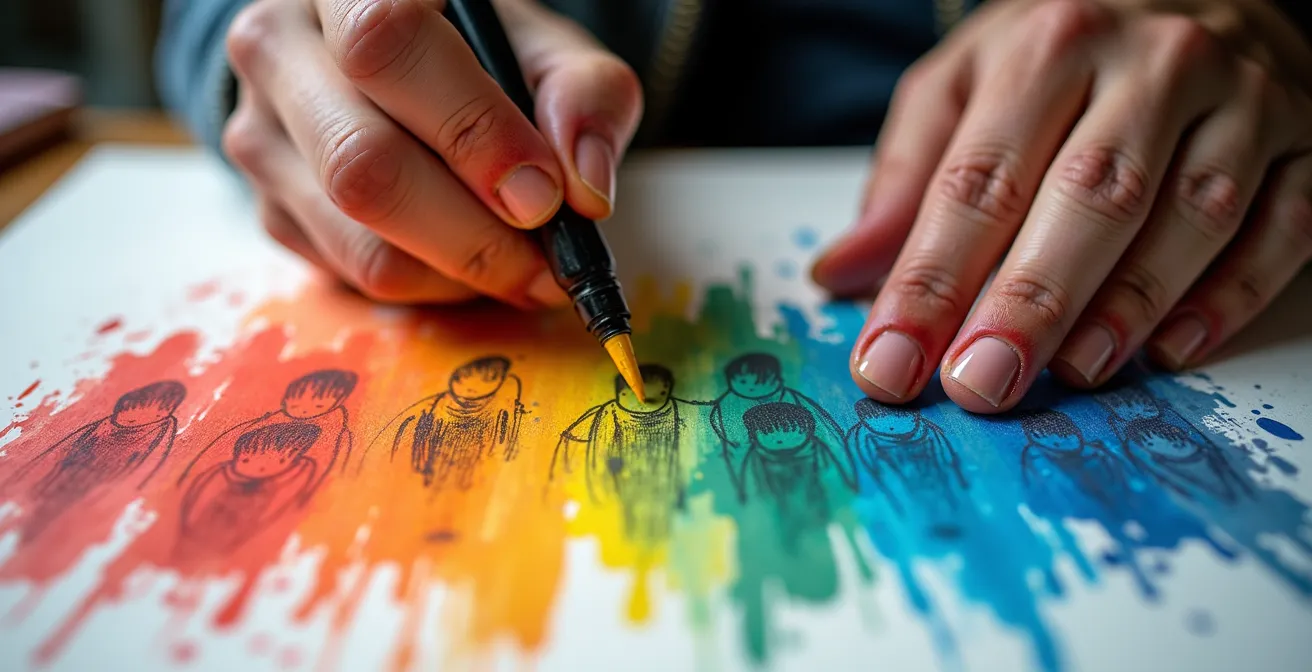
Your first act of visual triage happens before your pen even touches the paper: choosing your tools. When capturing a moving crowd, speed is everything. You need a medium that allows you to capture energy and movement, not individual portraits. As urban sketcher Teoh Yi Chie demonstrates, the goal is to convey the impression of a crowd, not render each person. Both pen and wash and markers excel at this, but in different ways. The choice depends on the kind of energy you want to capture.
Markers, especially light-colored ones, are champions of instant color blocking. You can lay down broad areas of color to represent the mass of a crowd without waiting for anything to dry. This immediate feedback is fantastic for building confidence and capturing the initial burst of a scene. Pen and wash, using waterproof ink, offers a different advantage. You can quickly establish the gestural lines of a few key figures and then apply a single, loose watercolor wash over the top to unify the group and add atmospheric depth. It’s less about instant color and more about the interplay between defined lines and fluid shapes.
To truly work fast, you must commit to your medium’s strengths. With markers, use bold, single strokes for shadows instead of hesitant layering. With pen and wash, let the water do the work, allowing colors to bleed and blend to suggest movement. Don’t wait for stillness; capture the motion itself.
As you can see, the direct application of markers allows for an immediate buildup of color and form, creating an impression of a crowd’s energy with just a few well-placed strokes. This technique embodies the principle of capturing the feeling, not the facts. Ultimately, the fastest medium is the one you know so well that you don’t have to think about it, allowing your mind to stay focused on the scene.
How to use the “one-point” trick to draw skyscrapers without getting lost in geometry?
Skyscrapers are daunting. Their sheer scale and repetitive details can trap an artist in a geometric puzzle, eating up precious time as the light fades. The solution lies in a form of architectural triage: stop trying to draw the building and start suggesting its form. Instead of a single “trick,” think of it as a strategy called geometric scaffolding. This is about establishing a convincing structure with the fewest lines possible, freeing you to focus on light and shadow.
The core idea is to focus your effort where it has the most impact. For instance, many experienced urban sketching instructors recommend spending 80% of your time on the top and bottom zones of a building. The roofline against the sky and the ground-level interaction (doors, people, awnings) are what give a building its character and scale. The floors in between can often be suggested with a few vertical lines and loose, horizontal scribbles. You’re creating an illusion of detail, not a blueprint.
To achieve this, you can choose from several rapid perspective methods. Each offers a different trade-off between speed and accuracy. The key is to pick one and commit to it for the duration of the sketch, rather than getting lost in indecision.
| Technique | Speed | Accuracy | Best For |
|---|---|---|---|
| Scaffolding Method | Medium | High | Complex facades |
| Three Slices Approach | Fast | Medium | Quick urban studies |
| Atmospheric Hacking | Very Fast | Low-Medium | Impressionistic sketches |
The “Three Slices Approach,” for example, is a powerful triage tool. You draw the top, the bottom, and one representative slice of detail in the middle, then simply suggest the rest. This gives the brain enough information to fill in the gaps, saving you enormous amounts of time while preserving the building’s essence.
The weather preparation mistake that ruins your paper when sketching outdoors in winter
Nothing stops a sketching session faster than the weather. In winter, the most common and devastating mistake isn’t being cold—it’s ignoring the physics of condensation. When you take your cool sketchbook from your bag into the cold, humid air, or worse, bring your frigid sketchbook into a warm café, microscopic water droplets instantly form on the paper’s surface. This condensation makes your paper buckle and your ink feather, ruining the page before you’ve even started. It’s a subtle enemy that sabotages your materials.
Preventing this is an act of environmental triage. You must manage the transition between temperatures. The simplest method is to place your sketchbook in a sealed plastic bag *before* you leave a warm environment. When you get to your outdoor location, let the sealed bag acclimatize for 10-15 minutes. This allows the paper temperature to equalize with the outside air slowly, preventing condensation from forming when you finally open it. The same rule applies in reverse when you go back indoors.
Beyond condensation, winter sketching presents other challenges for your materials. Watercolors can freeze on the palette, and some pen inks can become sluggish or stop flowing altogether. When selecting the best paper for urban sketching in these conditions, a heavier weight (300gsm or 140lb) is often better as it’s more resilient to moisture and temperature changes. A little preparation goes a long way in ensuring your tools work for you, not against you.
Your Action Plan: Winter Sketching Paper Protection Protocol
- Place sketchbook in a sealed plastic bag while still indoors.
- Transport to outdoor location keeping the bag sealed.
- Let the sketchbook acclimatize outside for 10-15 minutes before opening the bag.
- Consider adding 10-15% isopropyl alcohol to your watercolor water to act as an anti-freeze.
- Use waterproof ink pens that are rated for cold temperatures and won’t freeze or become sluggish.
By treating your materials with the same strategic foresight you apply to your composition, you eliminate variables that can derail your focus and waste precious time.
Why security guards might stop you and what your rights actually are?
An unexpected interruption from a security guard can shatter your concentration and bring a sketching session to an abrupt halt. Understanding why this happens and how to handle it is a form of social triage. Often, guards aren’t concerned with your art; they’re trained to watch for unusual behavior. Someone standing still and staring intently at a building for a prolonged period can fit the description of a security threat. Their job is to investigate.
Your goal is to de-escalate the situation instantly and re-establish your creative flow. The key is to be proactive, friendly, and clear. Don’t wait for them to approach you with suspicion. If you see a guard nearby, make eye contact, smile, and offer a simple explanation like, “Hi, I’m just an artist sketching the architecture. It’s a beautiful building!” This immediately reframes you from a potential threat to a harmless hobbyist and often turns the guard into an ally or at least a neutral party.
It’s also important to know your rights, which vary based on location. On public property, like a city sidewalk, you generally have the right to sketch or photograph anything in plain view. However, in Privately Owned Public Spaces (POPS)—like corporate plazas or atriums—the property owner can set rules and ask you to leave. Arguing is counterproductive; the best strategy is always polite compliance. Losing a location is better than losing your entire afternoon to a conflict.

A positive interaction not only saves your current sketch but also paves the way for future sessions. By managing the human element of your environment with courtesy and awareness, you protect your most valuable asset: your uninterrupted creative time.
How to choose the focal point in a chaotic street scene to tell a story?
A chaotic street scene is the ultimate test of visual triage. Faced with a whirlwind of people, cars, signs, and architecture, the impulse is to draw everything, which leads to drawing nothing well. The solution is to stop thinking like a documentarian and start thinking like a storyteller. You must ask yourself: “What is the story of this moment?” The answer to that question is your focal point.
Is it the contrast between a historic statue and a modern bus? Is it a single person with a bright red umbrella in a sea of grey coats? Is it the way the afternoon light hits a café sign? Your focal point isn’t necessarily the object in the center; it’s the element with the most narrative weight. As legendary sketcher Ian Fennelly advises, the first step is often a “pen placement exercise,” mentally framing different compositions before a single mark is made. This prioritizes composition and balance over an inventory of details.
Ian Fennelly’s “Finding the Scene” Approach
Before making any marks, Ian Fennelly often starts with a pen placement exercise, physically holding his pen up to frame different parts of the scene. This isn’t about measuring; it’s about auditioning compositions. Instead of getting caught up in the details too early, he prioritizes the overall composition, spacing, and balance. By deciding on the story and the main actor (the focal point) first, all other elements become supporting characters, simplified to serve the main narrative.
Once you’ve chosen your focal point, every other decision serves it. Elements near the focal point get more detail, color, and contrast. Elements further away are simplified, faded, or merely suggested. This creates a visual hierarchy that guides the viewer’s eye and tells your story clearly. You are deliberately creating an imbalance of detail to create a balanced composition. This is the heart of sketching quickly: it’s not about leaving things out randomly, but about leaving things out with purpose.
The lighting error that disrupts your circadian rhythm in windowless corners
In sketching, there is an equivalent to the windowless corner: the “dark corner” of a composition. This is the area you get bogged down in, a patch of overwhelming detail or a complex shadow you just can’t get right. Focusing on it is a lighting error. Just as poor indoor light disrupts your natural rhythm, fixating on a non-essential, “unlit” part of your sketch disrupts your visual rhythm. You lose sight of the Light Anchor—the main source of light that should be guiding all your decisions.
Your creative energy is a finite resource, much like your daily circadian rhythm. Spending it all in one dark corner of the page—perfecting the texture of a single brick wall while the overall light on the building fades—is a critical mistake. This is a failure of visual triage. You’ve lost the “daylight” of the big picture by getting stuck in a windowless room of detail.
The solution is to consciously work from your Light Anchor. Identify the brightest highlight or the deepest shadow that tells the story of the light. Make that your first statement on the page. Then, relate every other value back to that anchor. Is this area darker or lighter than my anchor? By how much? This constant comparison keeps your visual rhythm intact and ensures your whole sketch is unified by a consistent light source, preventing any single part from becoming a time-consuming “dark corner.”
When to unlock lore fragments: The rule of proximity for environmental storytelling
An urban landscape is not just a collection of objects; it’s a living environment rich with history and character. The small details—a worn-out cobblestone, a piece of graffiti, a unique window box—are the “lore fragments” that tell the city’s story. In quick sketching, you can’t capture them all. So, how do you decide which ones to “unlock”? The rule is simple: proximity to the focal point. This is the core of environmental storytelling in your sketchbook.
Think of your focal point as the main character of your story. The details immediately surrounding it are the crucial plot points. A detail far away from your focal point, no matter how interesting in isolation, is like a piece of lore from a different story. Including it will only confuse the narrative and waste your time. Your job is to select the 2-3 lore fragments that directly support your main character.
For example, if your focal point is an old bookshop entrance, the relevant lore fragments might be the faded gold lettering on the sign, a cat sleeping in the window, and the stack of books on the pavement. The intricate brickwork on the building three doors down? That’s a different story for another day. This selective process is an advanced form of visual triage. It transforms your sketch from a simple observation into a curated piece of storytelling, where every included detail has a purpose and adds to the narrative power of the whole.
Key Takeaways
- Speed in urban sketching comes from decisive ‘visual triage’, not just a fast hand.
- Choose your medium (pen/wash or markers) based on its ability to quickly capture the energy of a scene.
- Use ‘geometric scaffolding’ and focus on the top and bottom of buildings to suggest complex architecture quickly.
- The best sketches tell a story by selecting a clear focal point and simplifying everything else to support it.
How to Arrange a 400 Sq Ft Apartment to Reduce Daily Stress Levels?
Think of your on-location sketching setup as a 400-square-foot apartment. It’s a tiny, portable studio, and how you arrange it directly impacts your stress levels and efficiency. A disorganized bag, fumbling for the right pen, or a wobbly water cup creates friction that pulls you out of the creative zone. The principles of small-space living—everything in its place, multi-purpose tools, and a clear workflow—are directly applicable to reducing the stress of sketching in a busy environment.
First, establish your “zones.” Just as you’d have a sleep zone and a kitchen zone in a small apartment, you should have a “drawing zone” (sketchbook and primary pen/pencil) and a “color zone” (palette, water, markers). Keep them distinct. Your non-dominant hand should always know where your water or rag is without your eyes having to leave the scene. This is muscle memory, and it minimizes cognitive load.
Second, embrace minimalism and multi-functionality. Do you really need 30 markers, or can you get by with a curated set of 8? Can your water container also clip onto your sketchbook? A limited, well-chosen toolkit, like a limited color palette, forces you to be more creative and makes decisions faster. This is the physical component of visual triage. By arranging your “micro-apartment” with intention, you create a frictionless workflow that allows you to remain fully immersed in the act of seeing and drawing, letting you capture that fleeting light without the added stress of fighting your own gear.
The journey to capturing urban scenes quickly is not a race to add more lines to the page. It’s a practice of subtraction, of making confident and artistic choices. By embracing a mindset of visual triage, you give yourself permission to be a storyteller first and a renderer second. You learn to see the world in terms of light, energy, and narrative, and your sketchbook becomes a record of decisive, beautiful moments. The next step isn’t to buy a new pen, but to go outside, find a scene, and consciously decide what its story is. Then, tell only that story.
Frequently Asked Questions About Urban Sketching Rights
Can I sketch on public sidewalks?
Yes, you have extensive rights to sketch on public sidewalks as they are public property. You cannot be asked to leave or stop sketching as long as you’re not blocking pedestrian traffic.
What about privately owned public spaces (POPS)?
POPS like corporate plazas or mall entrances have different rules. Property owners can set restrictions, though many allow non-commercial sketching. Always be prepared to comply if asked to leave.
What’s the best way to respond to security?
Make eye contact, smile, and proactively explain: ‘Hi, I’m just an artist sketching the architecture. It’s a beautiful building!’ This immediately identifies you as a harmless artist rather than a suspicious person.